Estimated Reading Time: 3 min
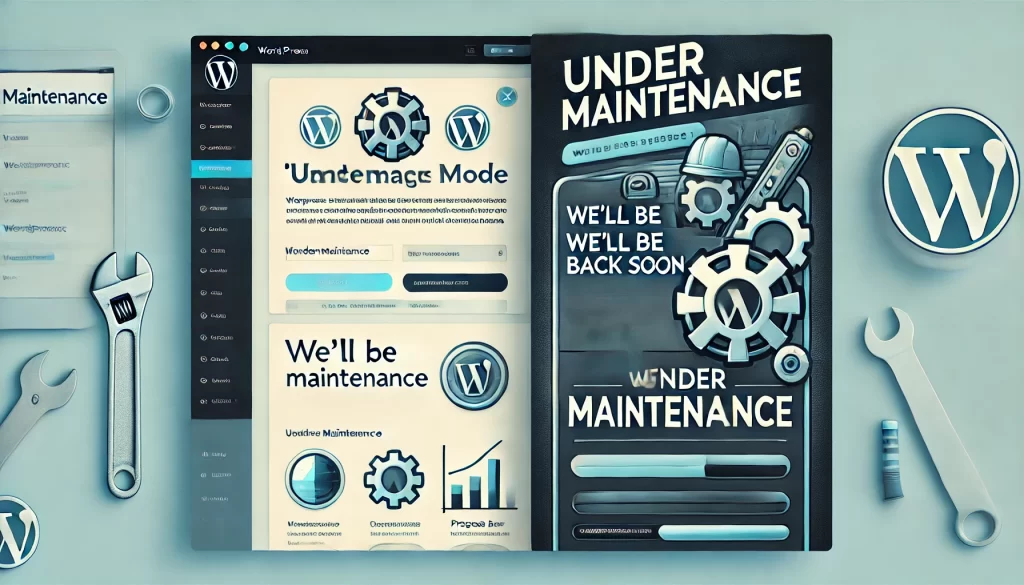
To set up a maintenance mode page on WordPress, you can either use a plugin or manually create the functionality. Here’s a step-by-step guide for both methods:
Method 1: Using a Plugin
1. Install a Maintenance Mode Plugin
- Go to your WordPress Admin Dashboard.
- Navigate to Plugins > Add New.
- Search for “Maintenance Mode” plugins. Popular options include:
- SeedProd (Coming Soon & Maintenance Mode)
- WP Maintenance Mode
- Maintenance
- Click Install Now and then Activate.
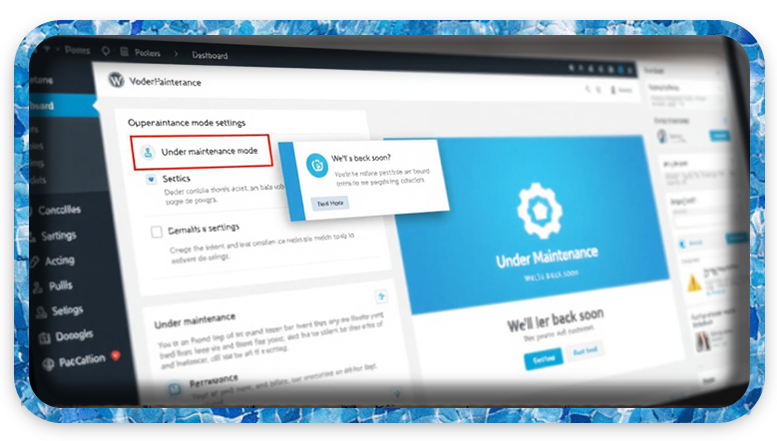
2. Configure the Plugin
- After activation, go to the plugin’s settings page (usually under Settings > Maintenance Mode or in a new menu item).
- Customize your maintenance page:
- Add a title, description, and message for users.
- Add a background image or logo.
- Configure visibility (e.g., allow administrators to bypass the maintenance mode).
- Set up additional features like countdown timers or social media links.
3. Enable Maintenance Mode
- In the plugin settings, toggle the Enable Maintenance Mode or similar option.
- Save your changes, and the maintenance page will be live for visitors.
Method 2: Manually Create a Maintenance Mode Page
If you prefer not to use a plugin, you can create a maintenance mode manually by adding a PHP snippet to your theme.
1. Edit the functions.php File
- Log in to your WordPress Admin Dashboard.
- Go to Appearance > Theme File Editor.
- Select the
functions.phpfile from your active theme.
2. Add the Maintenance Mode Code
Insert the following code at the end of your functions.php file:
function custom_maintenance_mode() {
    if (!current_user_can('edit_themes') || !is_user_logged_in()) {
        wp_die(
            '<h1>Website Under Maintenance</h1>
            <p>Our site is currently undergoing scheduled maintenance. We will be back shortly. Thank you for your patience!</p>',
            'Maintenance Mode'
        );
    }
}
add_action('get_header', 'custom_maintenance_mode');
3. How It Works
- Visitors who are not logged in as administrators will see the maintenance message.
- Logged-in administrators can access the site normally.
Optional: Custom Maintenance Page Design
To create a more visually appealing page:
- Save an HTML file as
maintenance.htmlin your theme directory (e.g.,wp-content/themes/your-theme/). - Replace the
wp_die()function in the code above with this:
function custom_maintenance_mode() {
    if (!current_user_can('edit_themes') || !is_user_logged_in()) {
        include(get_template_directory() . '/maintenance.html');
        exit;
    }
}
Method 3: Enable WordPress Native Maintenance Mode
When WordPress performs updates, it automatically enables a basic maintenance mode. You can manually create this by adding a .maintenance file to the root directory of your WordPress site.
Steps:
- Create a file named
.maintenancein the root folder of your WordPress installation. - Add the following PHP code inside the file:
<?php
$upgrading = time();
echo "The site is currently undergoing maintenance. Please check back soon!";
- Save and upload the file to your server.
How to Disable Maintenance Mode
- For Plugins: Go to the plugin settings and toggle off the maintenance mode.
- For Manual Code: Remove the added code from
functions.phpor delete the.maintenancefile.
Let me know if you’d like help customizing a specific maintenance mode design or functionality!