Estimated Reading Time: 3 min
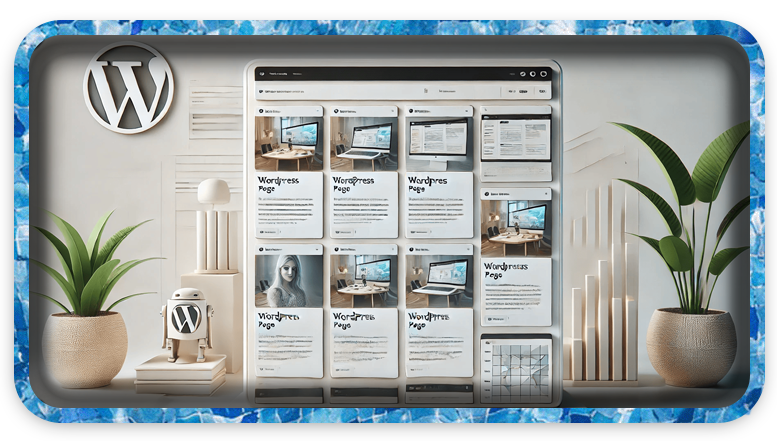
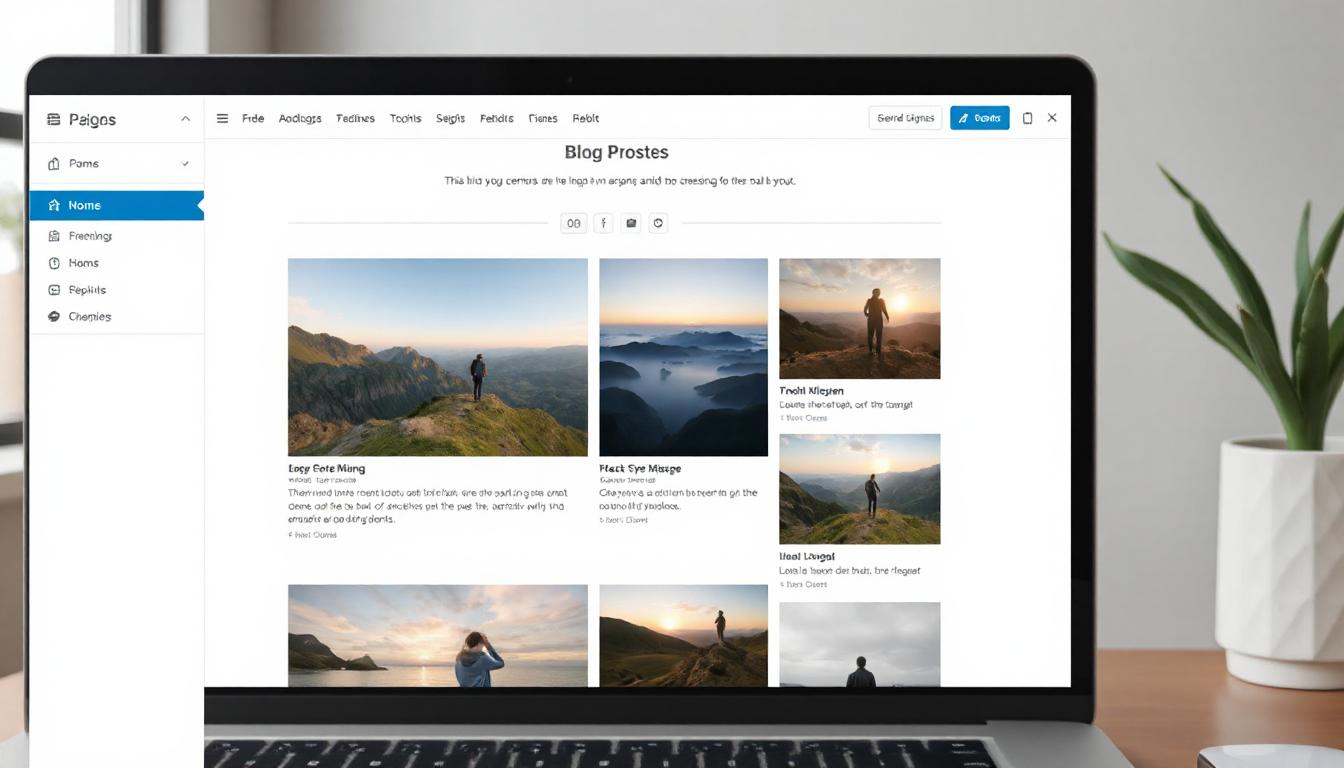
Creating a page in WordPress to display the latest posts with an image + title link layout can be done in several ways. Here’s a step-by-step guide:
1. Use the Block Editor (Gutenberg)
If you are using the built-in WordPress editor:
- Create a New Page:
- Go to your WordPress dashboard.
- Navigate to Pages > Add New.
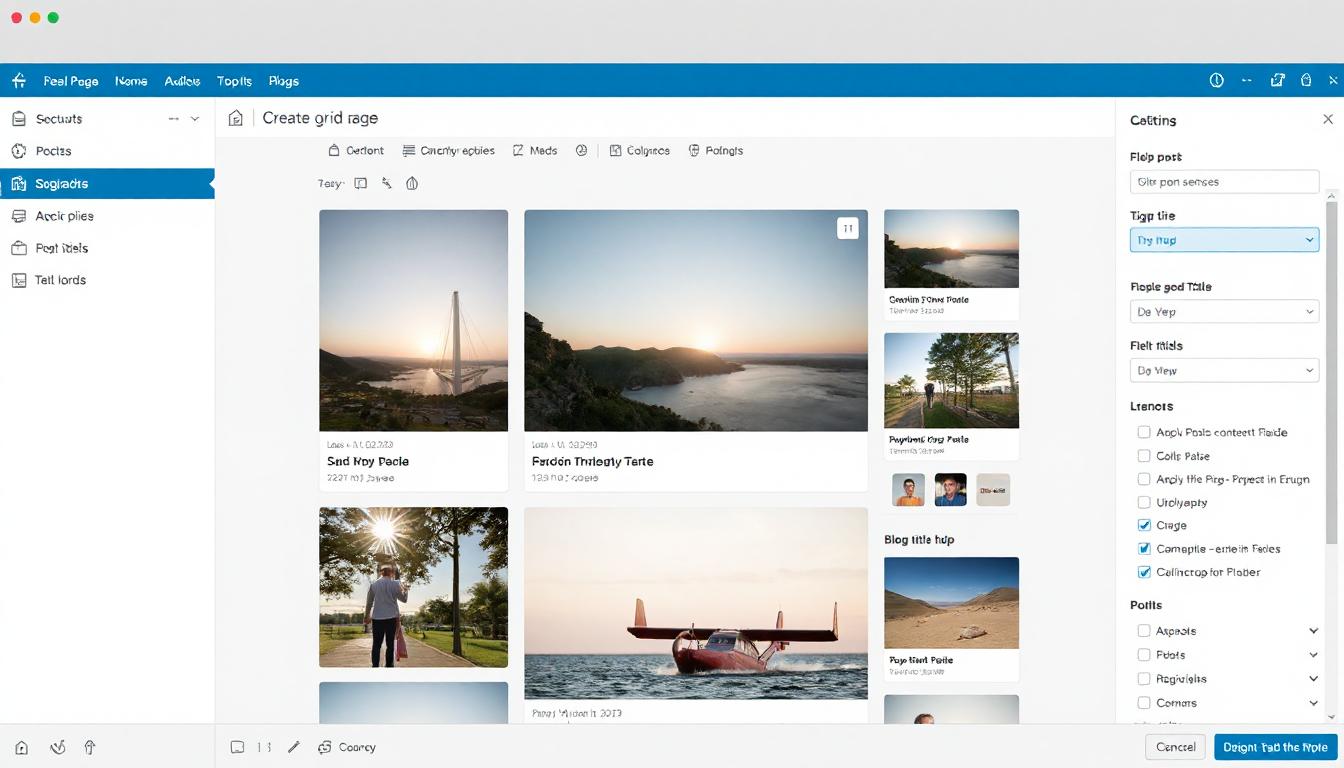
- Add a Query Loop Block:
- Click the “+” button to add a block.
- Search for “Query Loop” and select it.
- Choose a pre-designed pattern or customize your own. The “Image + Title” layout is a common option.
- Customize the Query Loop:
- In the block settings panel, you can specify the number of posts to display, sorting order, and filters (e.g., categories or tags).
- Adjust the block layout to show the featured image and title as clickable links.
- Publish the Page:
- Once satisfied with the layout, click Publish to make the page live.
2. Use a Page Builder Plugin (e.g., Elementor, Divi, or WPBakery)
If you prefer more design flexibility:
- Install a Page Builder Plugin:
- Go to Plugins > Add New.
- Search for a page builder like Elementor and install it.
- Create a New Page with the Builder:
- Go to Pages > Add New and click Edit with Elementor (or your chosen builder).
- Drag a “Posts” or “Blog” widget onto your page.
- Customize the Layout:
- Configure the widget settings to display the latest posts.
- Choose a layout that includes images and titles as links.
- Publish the Page.
3. Create a Custom Page Template
If you’re comfortable with coding, you can create a custom page template to display the latest posts.
- Access Your Theme Files:
- Go to Appearance > Theme File Editor or use an FTP client to access your theme files.
- Create a Custom Template File:
- Create a new file in your theme folder, e.g.,
latest-posts.php. - Add the following PHP code:
- Create a new file in your theme folder, e.g.,
<?php
/* Template Name: Latest Posts */
get_header(); ?>

<div class="latest-posts">
    <?php
    $query = new WP_Query(array(
        'posts_per_page' => 10, // Number of posts to display
    ));
    if ($query->have_posts()) :
        while ($query->have_posts()) : $query->the_post(); ?>
            <div class="post-item">
                <a href="<?php the_permalink(); ?>">
                    <?php if (has_post_thumbnail()) {
                        the_post_thumbnail('medium');
                    } ?>
                    <h2><?php the_title(); ?></h2>
                </a>
            </div>
        <?php endwhile;
        wp_reset_postdata();
    else : ?>
        <p><?php esc_html_e('No posts found.', 'text-domain'); ?></p>
    <?php endif; ?>
</div>

<?php get_footer(); ?>
- Apply the Template:
- Go to Pages > Add New.
- Assign the custom template (“Latest Posts”) to your page under the “Page Attributes” section.
- Style with CSS (Optional):
- Add CSS to style the layout as desired, either in the Custom CSS section of your theme or a child theme.
4. Use a Plugin (No Coding Required)
If you want a simpler way:
- Install a Blog Layout Plugin:
- Go to Plugins > Add New.
- Search for plugins like Post Grid or Content Views.
- Create a Grid Layout:
- Use the plugin’s settings to create a layout with images and titles.
- Copy the shortcode provided by the plugin.
- Add the Shortcode to a Page:
- Create a new page and paste the shortcode into the editor.
- Publish the Page.
Each of these methods allows you to display the latest posts with images and title links. Choose the one that best matches your skill level and desired customization!