Estimated Reading Time: 3 min
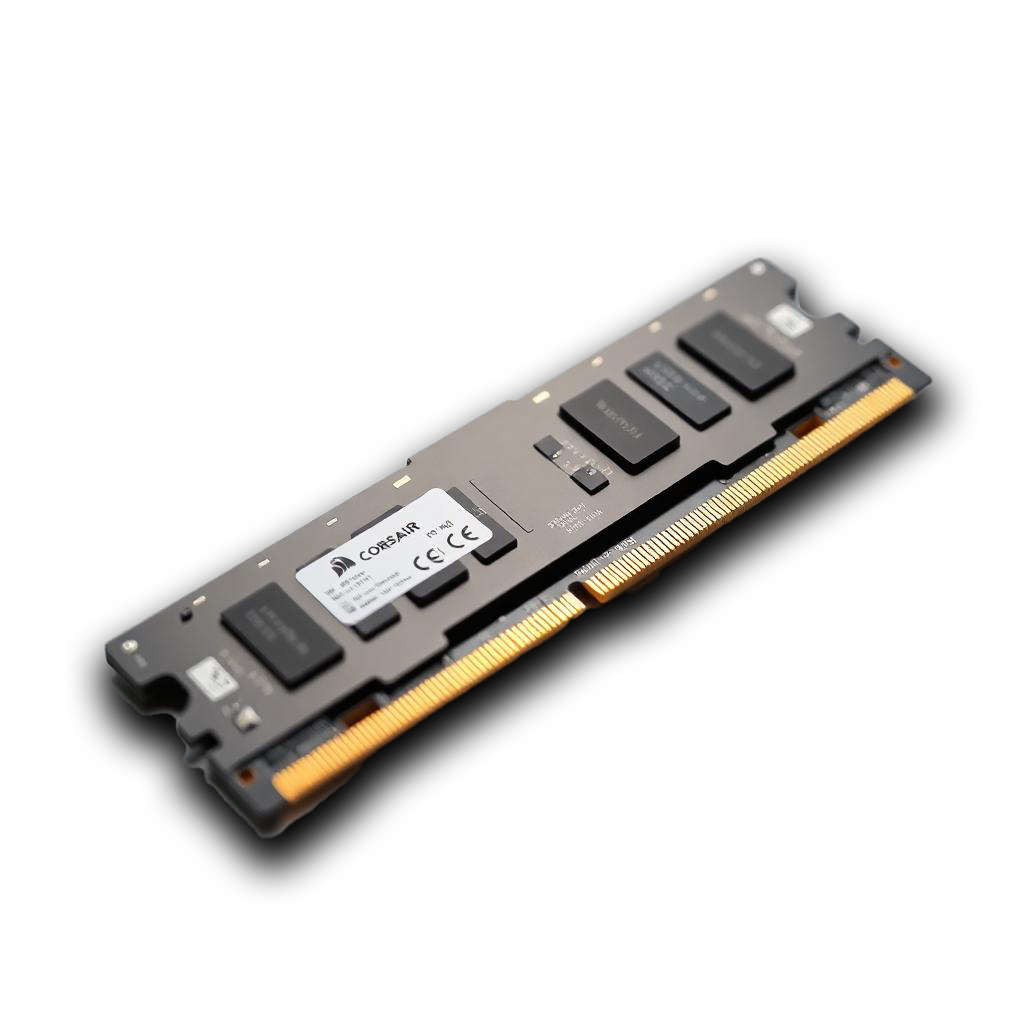
Upgrading your physical RAM (Random Access Memory) can significantly enhance your computer’s performance, especially for tasks that require a lot of memory, such as gaming, video editing, graphic design, and running multiple applications simultaneously. Here’s a guide on how to upgrade your RAM:
1. Determine Compatibility Before purchasing new RAM, you need to ensure that it’s compatible with your system.
- Check Your Current RAM: – You can check your current RAM type, speed, and capacity by opening Task Manager (Ctrl + Shift + Esc), going to the *Performance* tab, and selecting *Memory*.
- Motherboard Specifications: – Find out the specifications of your motherboard. This includes the type of RAM (DDR3, DDR4, etc.), maximum supported capacity, and the number of available slots. You can usually find this information in your motherboard’s manual or on the manufacturer’s website.
2. Choose the Right RAM
- Capacity: Determine how much RAM you need. Common upgrades are to 8GB, 16GB, or even 32GB, depending on your usage.
- Speed: RAM speed (measured in MHz) can affect performance. If you are upgrading, try to match the speed of your existing RAM for optimal performance.
- Type: Ensure you buy the correct type (e.g., DDR4) that matches your motherboard.
3. Purchase RAM Once you’ve determined compatibility and specifications, purchase the RAM from a reputable retailer. Brands like Corsair, Kingston, Crucial, and G.Skill are popular choices.

4. Installation Process Here’s how to install the new RAM:
- Power Down and Unplug: – Shut down your computer and unplug it from the wall.
- Open the Case: – Use a screwdriver to remove the side panel of your computer case. Be cautious and follow the manufacturer’s guidelines.
- Ground Yourself: – To prevent static electricity damage, ground yourself by touching a metal part of the case or using an anti-static wrist strap.
- Locate RAM Slots: – Find the RAM slots on your motherboard. If all slots are filled, you may need to remove the existing RAM to make room for the new modules.
- Install New RAM: – Align the notch on the RAM stick with the slot on the motherboard and gently press down until the clips on either side click into place. If you’re adding RAM, ensure you install it in the correct slots for dual-channel operation (usually the same color slots).
- Reassemble the Case: – Put the side panel back on and secure it with screws.
- Power On the Computer: – Plug in your computer and power it on.
5. Verify Installation
- Check RAM Recognition: – After booting, check if the new RAM is recognized by the system. You can do this by opening Task Manager again and checking the memory section in the Performance tab. Alternatively, you can use tools like CPU-Z for detailed information.
6. Troubleshooting If your computer fails to boot or exhibits issues:
- Recheck Installation: Ensure the RAM is seated correctly and that there are no loose connections.
- Check Compatibility: Make sure the new RAM is compatible with your motherboard.
- Test RAM: If you experience crashes or performance issues, consider running a memory test using tools like Windows Memory Diagnostic or MemTest86.

